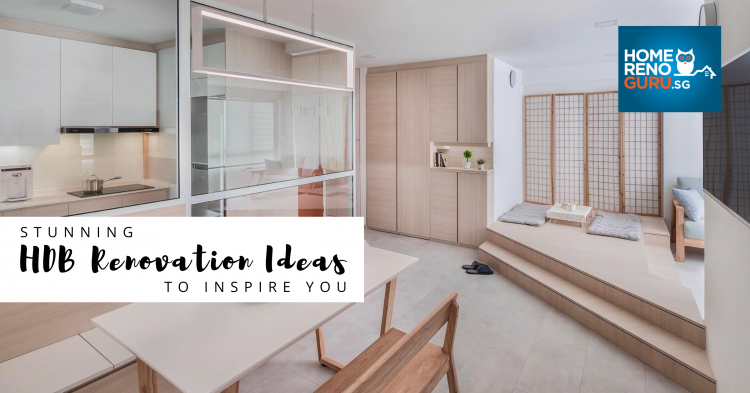
There’s a right way and many wrong ways to plan a renovation. Let’s look at the right way, step-by-step, right away, before everything goes horribly wrong. If you engage an interior designer to manage your renovation, make sure they are on the same page.
Step 1: Planning
The importance of this crucial first stage cannot be overstated. It’s ideal to plan your home renovation as a whole, rather than room by room, for many reasons. Firstly, you should have a theme flowing throughout your home. Secondly, it helps with the scheduling of contractors such as plumbers and electricians. Rather than working room by room, they can consolidate all the work required throughout your house in one burst.
HDB 4 Room Blk 435A Fernvale | Swiss Interior Design Pte Ltd
Step 2: Hacking
More and more Singaporeans are embracing the open concept kitchen, while others are joining two bedrooms to create a walk-in wardrobe cum dressing room. If you have a wall that requires hacking, do it first. Get the noise, the dust and the rubble out of the way so that you can assess the newly opened up space with a fresh eye and make any adjustments to your plans if need be.
Also, be sure to alert your neighbours, not only to the duration of your entire renovation, but also to the approach of extra-noisy days such as when the hacking will occur. Jackhammers and pneumatic drills are loud machines, and your neighbours on both sides, as well as above and below if you live in a multi-storey building, will feel much more kindly towards you if you give them a heads-up.
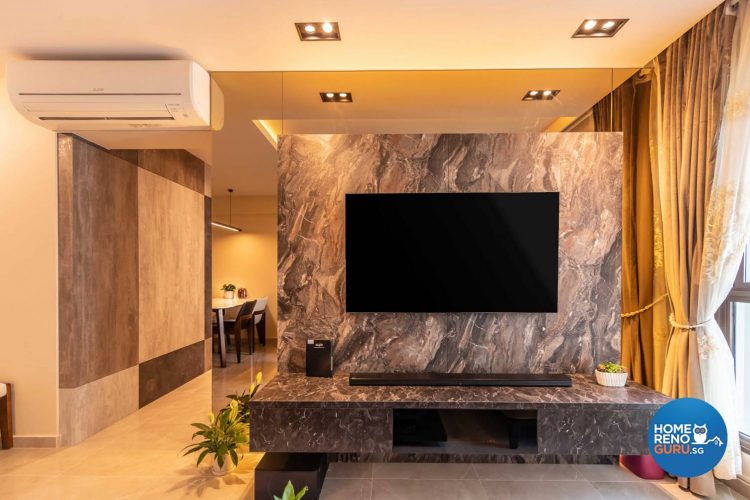
HDB 5 Room 764 Pasir Ris St 71 | Flo Design Pte Ltd
Step 3: Plumbing and Wiring
This essential skilled work will often require digging out channels in your walls and possibly your floors. Hence it needs to be done before the plastering, which will smooth over any lumps and bumps left behind by plumbers and electricians, and before the flooring.
Step 4: Major Structural Building
We’re talking the big things, such as erecting walls and big built-in fixtures like bar counters and built-in robes. Depending on your contractor, the latter are often built off-site in carpentry workshops, and fitted on-site. Items that require plumbing or wiring, such as island counters with sinks and display cabinets with spot lighting, can be connected.
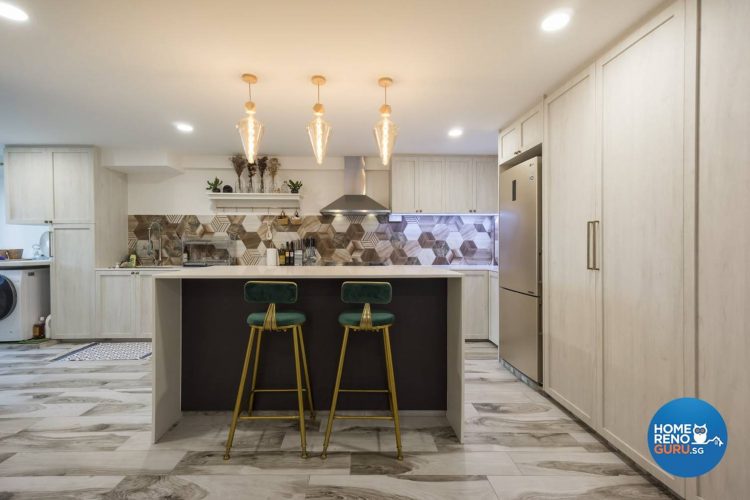
HDB 4 Room Blk 194B Bukit Batok West Ave 6 | I-Chapter Pte Ltd
Step 5: Plastering
This self-explanatory stage primes the canvas of your walls for papering or wallpapering. Make sure your contractor leaves no trowel marks or ridges, as these seemingly minor blemishes can become obsessively annoying when you notice them after the paint has been applied.
Step 6: Tiling
This step usually applies to the kitchen and bathrooms, and possibly floors. Leave it to a professional – cutting tiles to fit snugly around pipes and taps is no easy feat. Correct surface preparation and the right adhesive are crucial to a good result.
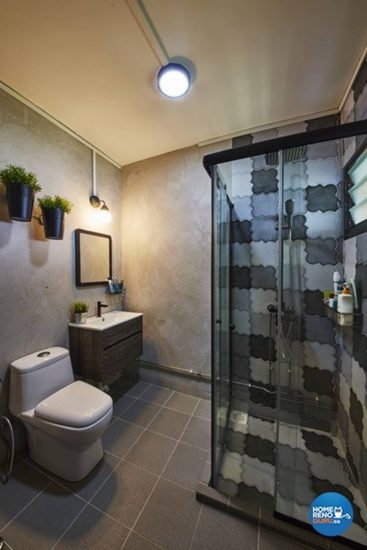
HDB Executive Apartment 324 Yishun Central | Carpenters
Step 7: Fitting of Doors
Not as easy as it sounds, this step requires carefully measurement and precise alignment of the door hardware – hinges, handles and locksets. Definitely not a one-man job, it’s best left to the experts.
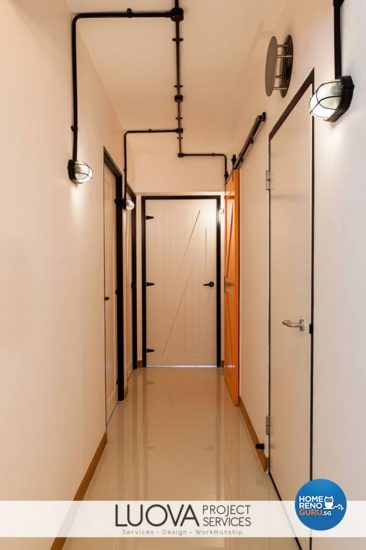
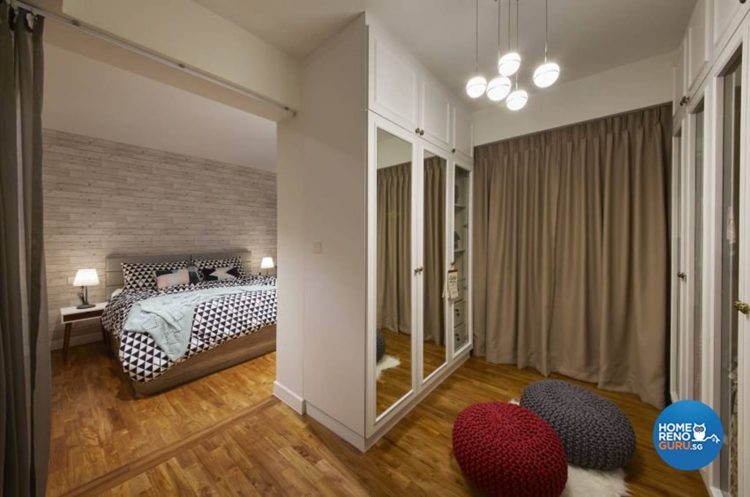
HDB 5 Room Waterway Ridges | Luova Project Services
Step 8: Painting
When everything’s more or less in place apart from smaller built-in furniture and loose furniture and appliances, the painting can begin. A professional applicator will thoroughly wrap and protect all your light fittings and electrical sockets, ceiling fans and so on. All edges should be masked off with tape, and canvas drop sheets laid down on the floor (plastic ones can be slippery and hazardous).

Landed House Sutton Place | Promax Design Pte Ltd
Step 9: Flooring
Since flooring is a major expense, many homeowners choose to make do with the original flooring in their flat or house. For those who are splurging ‘top to toe’, the laying of the new flooring is the logical next step. Make sure you consider all factors when choosing your type of flooring. Wood and wood veneer, though attractive, can be easily scratched by pets. Marble, though luxurious, can be slippery and hazardous to tots and seniors. There are some attractive and highly resilient new laminates on the market that resemble wood, stone and tiles.
Condominium Bukit Regency | U-Home Interior Design Pte Ltd
Step 10: Carpentry
All made-to-order furniture that sits over the flooring, such as TV consoles, shoe cabinets, dining booths, desks and shelving, should now be installed. Your home should be really shaping up now!
Step 11: Light Fittings and Tapware
You are nearly at the end of your renovation process! These finishing touches are both functional and aesthetic. By now, your wiring should be well and truly in place. Lampshades and faucets are one of the few things you can leave till the last minute to decide upon. Think of them as the jewels in the crown – have fun!
The Most Crucial Step of All: Choosing Your ID
If, like the majority of time-strapped Singaporeans, you are entrusting your renovation to an interior designer, the pre-step or very first step on your renovation journey should really be – choosing your interior designer.
Let HomeRenoGuru, Singapore’s leading renovation app and website, be your guide. They can match your budget and house type with a list of reputable IDs. Better still, request a no-obligation quote.